I wanted to jut pop in and share a couple cards that I made as guest designer for Ink Blot Shop.
In this first card, I used the Koala Hugs set. I love this sentiment. A great reminder that nothing is permanent. Life may throw you some curve balls, but just have faith that it can and will bet better.
This next card I used the Missing You set to make this slimline card. I masked off the houses instead of cutting the stamp. I just have a total fear of messing up the stamp. (yea , I know it doesn't harm the stamp. It's a mental thing)
Have you ever tried Mirror Image Stamping? It’s super easy and I'mshow how to do it without any any special tools or stamps. You can use what you already have to extend your stamping.
I started out by stamping the fun little frog from the Happy Birthday, Princess stamp set in Eclipse Black ink on a scrap piece of white cardstock. Now for the fun part. The castle in this set has a large back side. Large enough to fit the stamped frog. I flipped it over onto my glass mat and carefully stamped the fog onto it. Making sure not to wiggle the stamp. I then pressed the cardstock on the image. Using my Impression Smoosher to make sure I get a good transfer.
This short video shows exactly how I did it.
I colored the frogs with my Copic Markers.
Frog – YG00,YG03, YG17, YG67
Crown – Y00, Y11, Y15, YR24
Next I stamped one of the princesses from the Pretty Princess set. These are a little smaller and fit the setup of my card better. Again I used Copics Markers to color.
Hair – E42, E43, E47
Face – E50, E51, E11
Dress – B000, B00, B02, B04
I fussy cut all three stamped images and added dimensional foam tape to the back and aligned them in center of each circle.
I then cut a thin ¼in strip of cardstock and stamped the sentiment, adding foam to it too.
I hope you try mirror image stamping. It really is as easy as it looks.
Hello again there friends. Both my kids are grown, but summers still seem a very busy time. All I want to do is travel. Probably has something to do with getting out of the blazing Texas heat. This year is not different. Weeks of 100 degree temps with no relief in sight.
For todays card, I want to show you that you don’t need to spend a lot of time coloring or stamping to make an amazing card.
To start out I chose a sentiment form the Ephemera Birthday Sentiment. These sentiments are printed with toner and can be left as is or in foiled with Deco Foil.
The laminator that I have doesn’t seem to get hot enough to transfer the foil, but I have another solution. If you have a Gemini Foilpress, you can use it. I pre-heated the foilpress, on the Medium setting with a solid hot foil plate. Once it was hot I placed the Deco foil , shiney side down with the sentiment face down. I then set the timer to 30 seconds. When it was done, I ran it through my Gemini Jr. machine. It transferred beautifully. These setting work for me, but every foilpress and Gemini are different. I suggest you test it with your machine first.
Don’t throw that foil away. The Ephemera Birthday Sentiments also comes with a solid negative. I reheated my foilpress and ran it through. I’ll set it aside for another project.
Now back to the card. I was really rushed for time. The Pre Printed Easy Scene – Royal Royal West is double sided. One side it western themed, and the other has more scenic landscapes. I chose this one and glued it down to an A2 Top Fold Card Base. I then added dimension foam tape to the sentiment and added it to the card front.
Hello my crafty friends. How is it possible that we're already in June? I am so not ready for the summer heat. And it gets brutal here in Texas!!
I have my daughter coming home to celebrate Father's day. Chances are she won't have a card for her dad. Luckily, I have a few.
I've been trying to use more of my supplies lately. So I brought our the Ranger Alcohol inks. These backgrounds are so very simple to make. I start by adding a little isopropyl alcohol to yupo paper. Then I added a few drops of Denim ink. Using my Tim Holtz Ink Blower, I move the ink around. I continued by adding in Citrus, Mermaid, and Silver ink and alcohol until I was happy with combination. I set this panel aside to dry while I worked on the rest of the card.
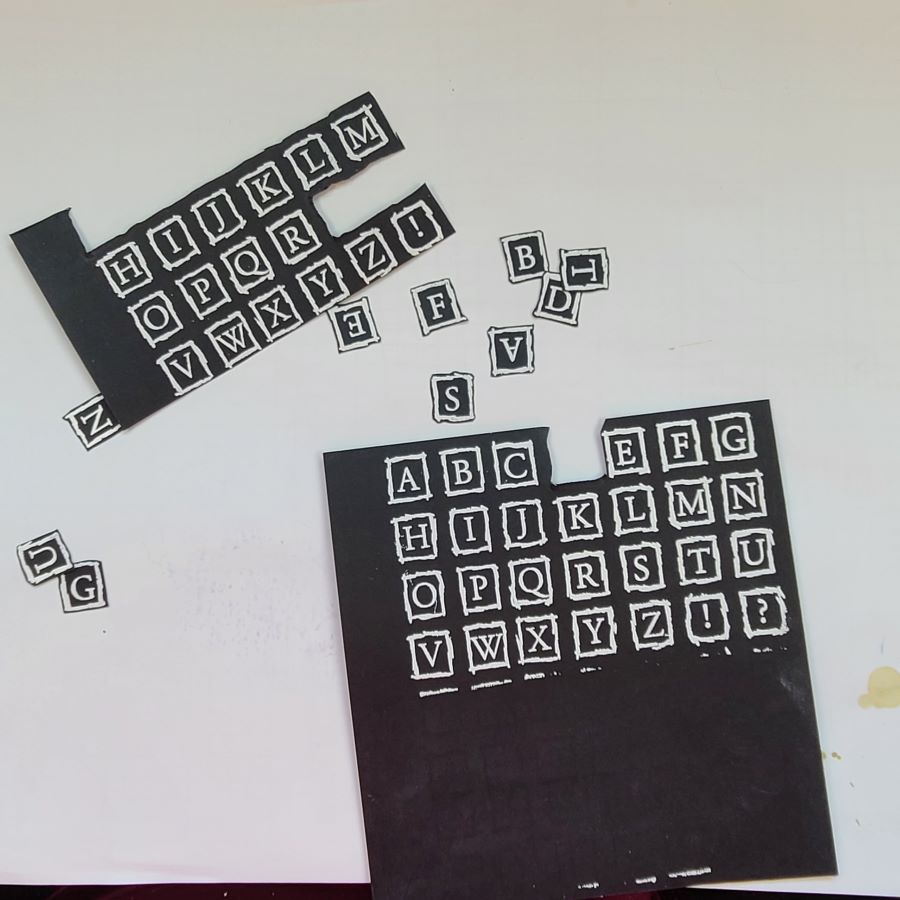
I fussy cut the letters that I was going to use for the sentiment. I'll set aside the rest for another project
I cut the yupo paper down to 4⅛ x 5¼ inches and glued it to Eclipse Black cardstock cut to 4¼ x 5½ inches. I then glued all that to an A2 Top Fold Card Base.
Many times I stamp and color images for future use. That was the case with this car from On Track stamp set. I added dimensional foam to the back and placed it toward the bottom the the card. I also added foam tape to to each letter. I center the word DAD and then starting with the T, worked backward to make sure the letters were even spaced.
These last couple of months have been a blur. Seems like yesterday I was putting my Christmas decorations away.
I wanted to go ahead and add a few photos of cards that I've made. If you have any questions about how they were made, just leave me a comment and I'll get back to you.
Hello again my friends. Jackie here with another card that is simply earresistible! I can't get enough of this bunnies. It's perfect for Easter cards, but can easily be colored up for cards of any occasion. Don't you think this would be a great Thinking of You card?
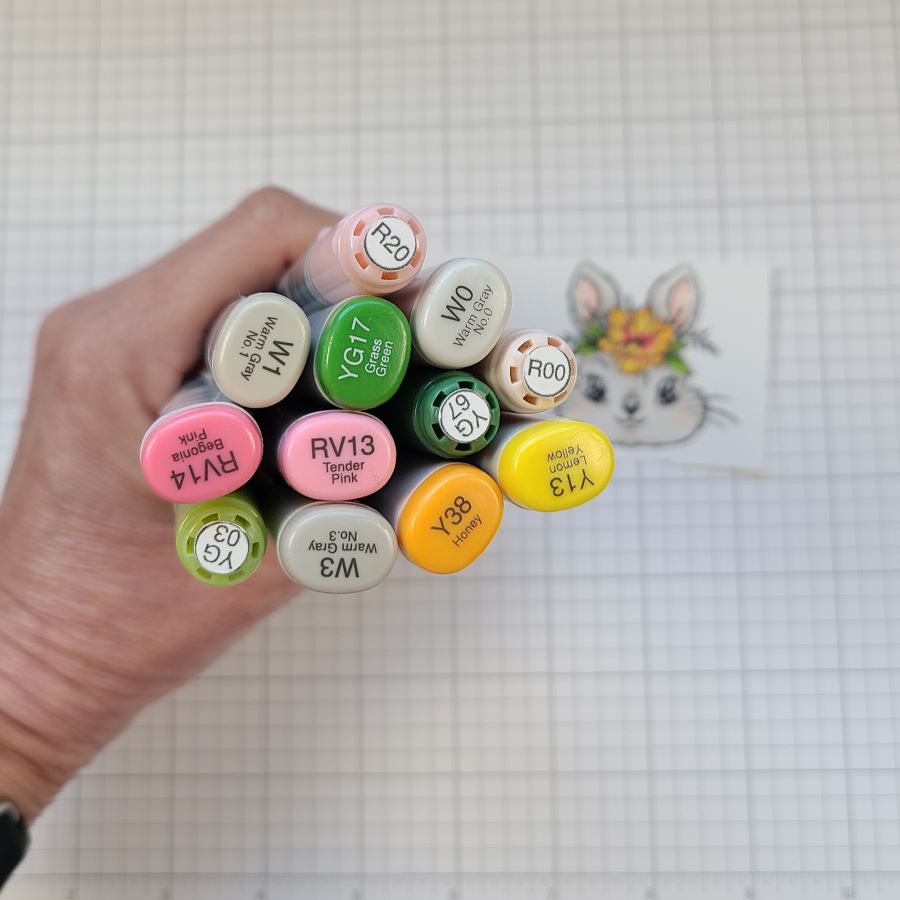
To make this card, I started off by stamping the flower bunny of the Hip Hop Bunnies stamp set, with Eclipse Black Ink on white cardstock. I used my Smoosher Tool to make sure I got a good impression. I then grabbed my favorite medium, Copic alcohol markers to color it up. I used W0, W1, W3 for fur, RV13, Y13, and Y38 for the flower. Y03, YG17, and YG67 for the leaves and R00 and R20 for the ears and cheeks.
Fussy cutting is easy, but nothing beats the smooth cut lines you get from the Scan n Cut machine. I've used my mat so much now that it's not even sticky anymore. But it's not a problem. I just use a little washi tape to adhere the paper down.
I thought it would be fun to make the colored stripes instead of using colored cardstock, It's super easy to do. I just grabbed some scrap white paper and ran my Bubblegum ink pad across it. At first it looked really splotchy, but once it dried the color evened out. I did this again with Neon Lights and green. I then cut the stripes down to random widths and glued them to an A2 size Perfect Base Card Base.
I had a few die cut leaves left over from another project. I glued those down, added dimensional tape to the back of the bunny and placed it over the leaves.